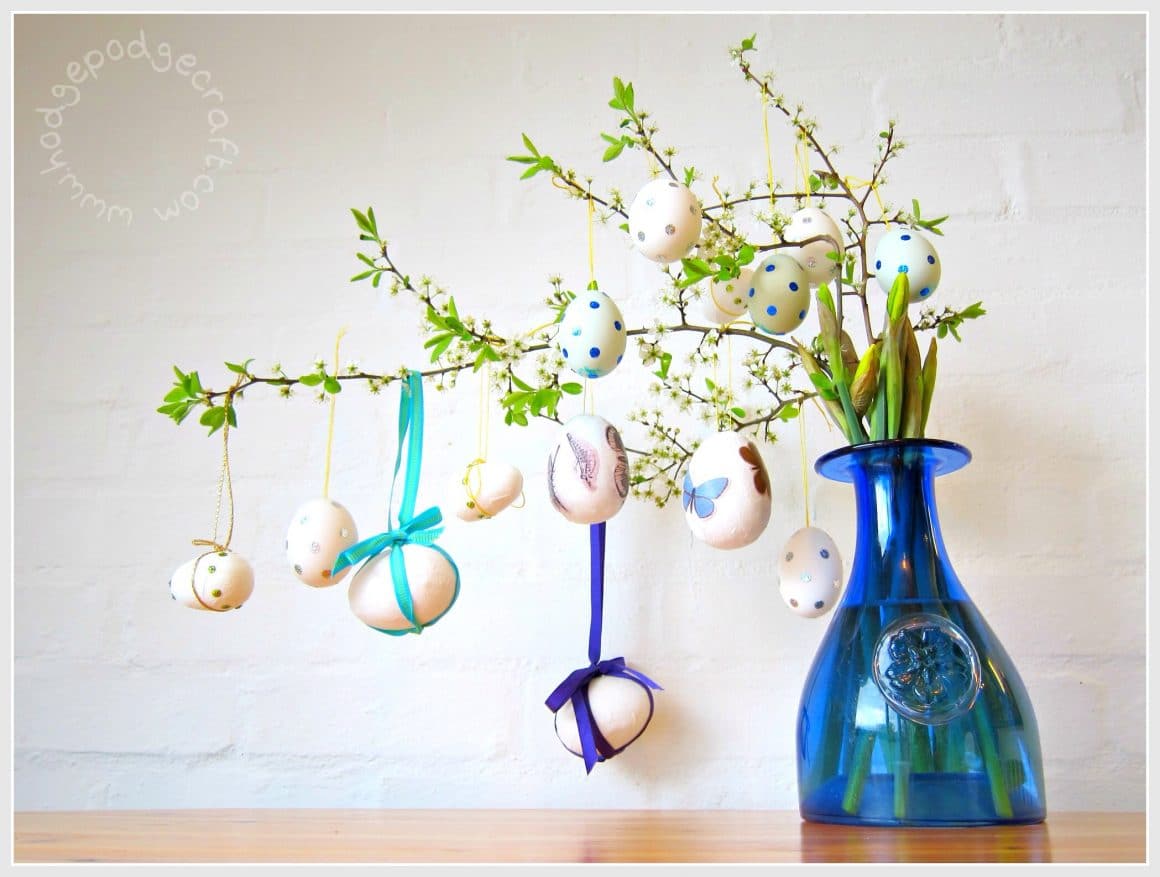
Another easy Easter activity for kids using fine motor skills to create beautiful decoupage egg decorations.
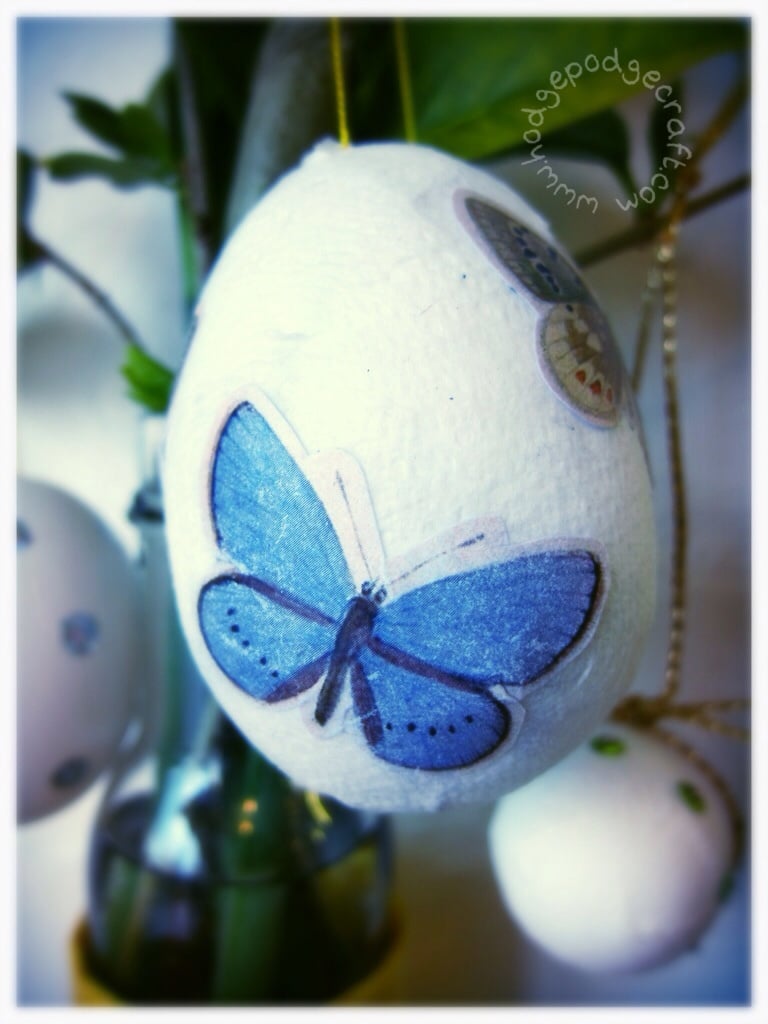
Here’s how we made our decoupage eggs (as part of our Easter tree decorations). They are very simple to make and you can use whatever pictures you like!
To make decoupage eggs for Easter, you will need:
- polystyrene or papier mache eggs
- PVA glue
- kitchen paper (if you are using polystyrene eggs), torn into small squares
- OPTIONAL: paint
- a paintbrush
- your choice of pictures, printed out
- scissors
- OPTIONAL: needle and thread (to hang the eggs)
COST: pennies (per egg)
AGE: young kids and up
TIME: 20-30 minutes (plus drying time)
How-to make decoupage eggs for Easter:
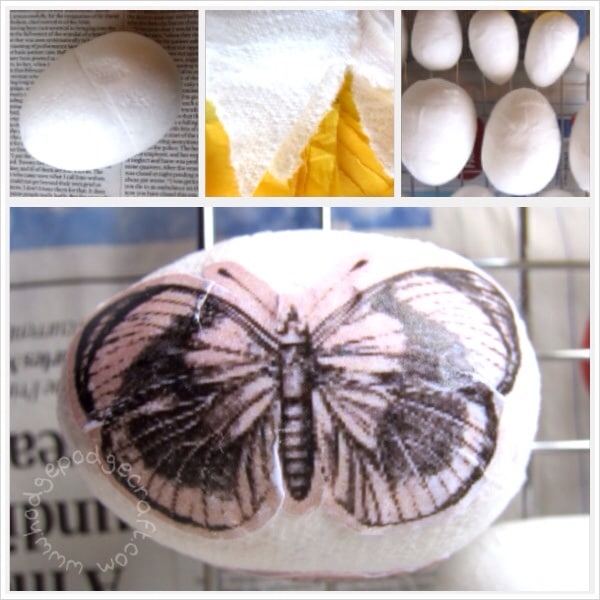
- If you’re using polystyrene eggs, cover them in a layer of kitchen paper, using a watered-down PVA solution and leave to dry.
- Paint your eggs (this is optional – we left ours white) and leave to dry.
- Choose some gorgeous pictures online and print them out (we used butterflies from The Graphics Fairy). TIP: choose smaller pictures (or reduce the size) – these will stick to the egg more smoothly – larger images tend to pucker and crease.
- Cut out your images carefully.
- Use the watered-down PVA solution to paste your images onto the eggs. We found they stuck best once the paper was completely saturated and discovered that using our hands and fingers rather than the brush produced a smoother result at this stage.
- Leave to dry completely, then add a second coat of PVA solution if you want to.
- Thread some loops through your eggs and hang them on your Easter tree!
Have you made decoupage eggs for Easter? Do you have any tips for us?





Pingback: Hodge Podge / 10 awesome butterfly and bug crafts for kids
Pingback: Hodge Podge / Spring & Easter ideas for DIY decorations