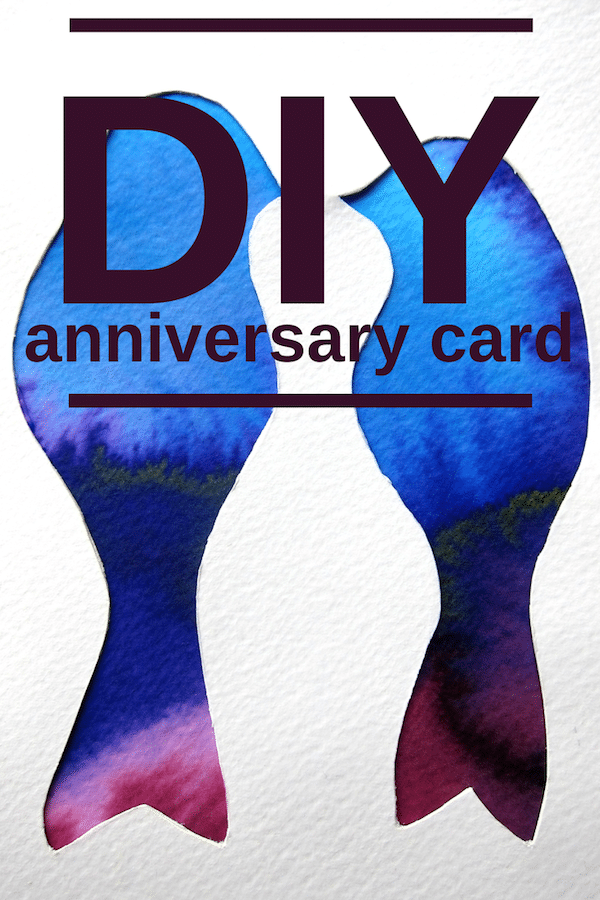
Easy anniversary card idea using paper cutting and water colours. This is a super fast tutorial, but looks really pretty!
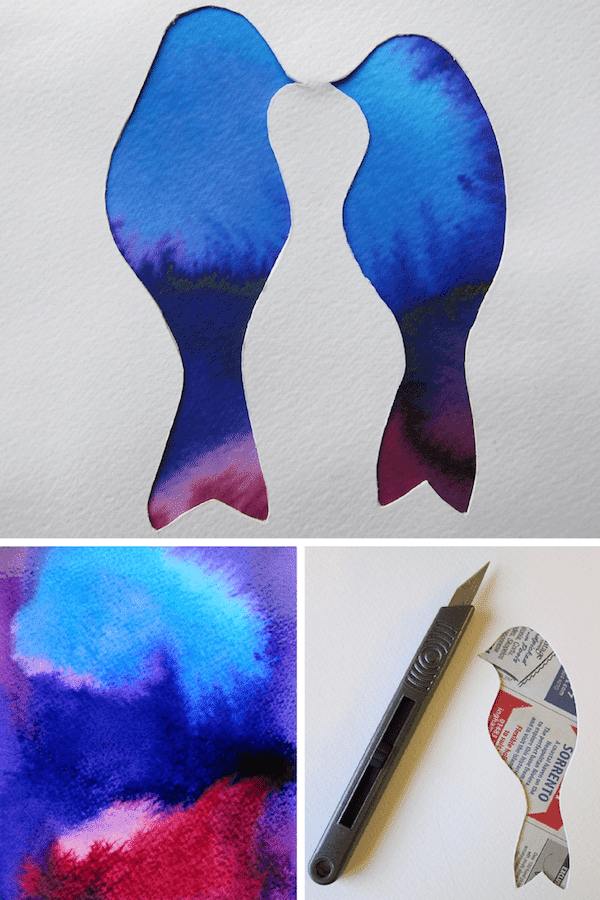
Last Friday was our anniversary (MisterPodge & I have been happily married for 5 years)! Of course I had to make him an anniversary card, but I had limited time to do it! This is what I came up with…

To make a DIY anniversary card, you will need:
- good quality watercolour paper (I used 2x sheets of A2)
- water colours
- a pencil
- a scalpel or craft knife

How to make a DIY anniversary card:
- Score your watercolour papers along the centre and fold them in half, then tuck one inside the other – you may need to trim the edge of the inner card so that it lines up with the outer one.
- Choose your design (I opted for something simple, as it was easy to cut out)! Inspired by Pinterest, I found a couple of simple love-birds and copied the design freehand.
- Flatten out both papers, but remember which is which.
- Brush some water onto the front of the inner paper (this will be your under layer), then use your favourite watercolours to make a wash (allowing the colours to run together) and leave to dry.
- Draw (or trace) your design onto the front of the outer paper.
- Use a scalpel or craft knife to cut your design out of the outer paper.
- Stick the outer layer to the inner layer, using ModPodge or similar and allow to dry.
Easy, huh?
P.S. This was our honeymoon trip!


This is properly gorgeous!
Thanks Claire! 🙂
I am a bit late but Happy 5th wedding anniversary! Gorgeous love birds card!
Pingback: Hodge Podge / 10 easy rainbow crafts for kids