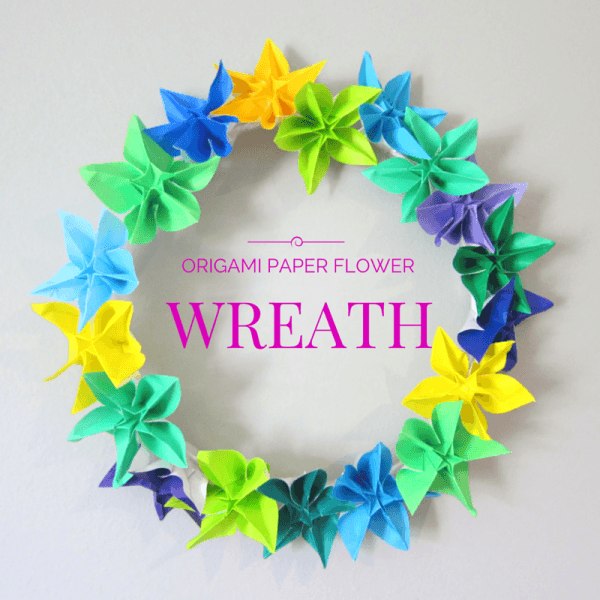
Well, it feels as if Spring has certainly sprung here (April showers included!) and today I want to show you how to make a wreath using origami flowers. It’s super simple and looks great – plus it won’t wilt like real flowers do…
*this post contains affiliate links, which means that if you click on something here, then buy it, I will receive a small payment at NO extra cost to you!*
To make a wreath using origami flowers, you will need:
- origami paper (or cut your own paper into squares, but it doesn’t cost much and will save you a lot of time!) – the bigger the wreath, the more squares you will need!
- florists wire (or an old-style coat hanger)
- masking tape
- scissors & sticky tape
How to make a wreath using origami flowers:
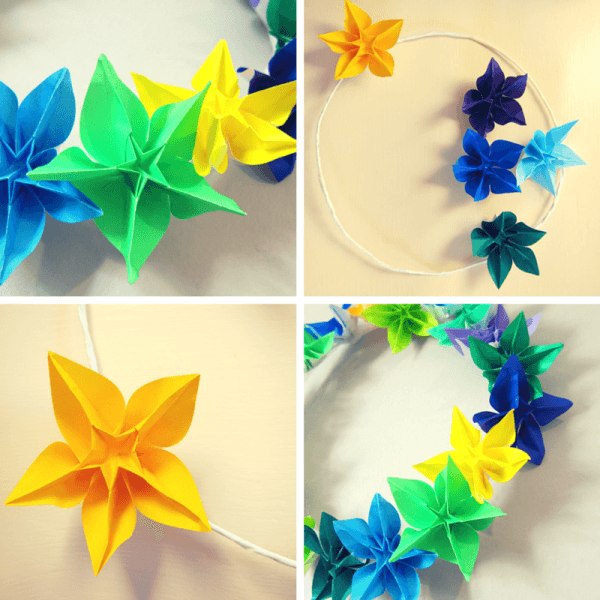
- Make a wire hoop (any size you like – ours is about 20cm diameter) using your coat hanger or florists wire and use masking tape to cover any sharp points or twisted joins. You might want to include a small hook or loop of wire at the top to make it easier to hang later on.
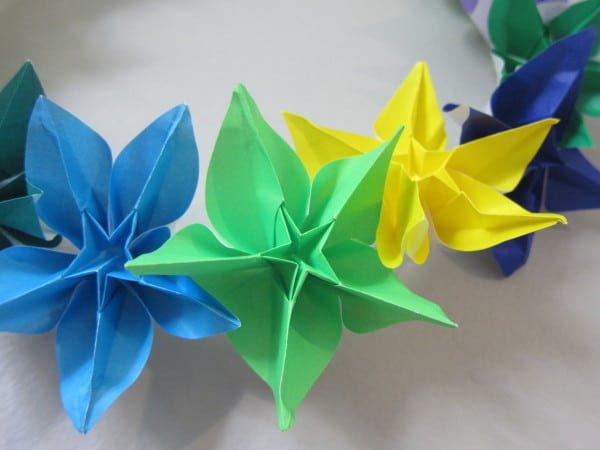
- Follow this amazing video tutorial to make lots of paper flowers (called carambola, designed by Carmen Sprung). The first one will take you a while to get right, but once you get into your groove, you won’t even need to watch the video any more…
- Think about when and where you will hang your wreath when you’re choosing the paper colours. I used bright Spring colours, but you could have gorgeous oranges and browns for a Thanksgiving or Autumn wreath, or red, green and gold for a Christmas one.
- Keep making flowers until you have enough to cover your entire wire hoop. Then make a few more (because they look really good crammed up together – at least, I think they do)!
- Take one flower at a time and ‘pinch’ the wire with the pointy bits at the back, then tape securely into place. You don’t need to be neat here, because the back will be hidden against the wall. In fact, mine is a total mess behind!
- Keep squishing them in close and taping them in place, until the whole wire is completely covered.
- Hang up your paper wreath and enjoy!

P.S. Hodge Podge Craft has been shortlisted for a BritMums BiB (Brilliance in Blogging) award and it would make me SO happy if you would please vote for me here (under category 12: Craft) Thank you ever so much!




Oh that’s beautiful, It’s been a while since I did any Origami (and that was cranes), these look so lovely I might try one day soon.
Thanks Ashley! Do give them a try – even if you only make one or two, they look so pretty…
These are beautiful! I loved doing Origami as a kid – I can’t wait until my girls are a little older to teach them! Thanks for sharing at #WeLoveWeekends
Thanks Meghan! I love that origami is free to do, needs no prep and makes no mess…. 😉
Oh this is gorgeous! Such a cheap way to make your home look more cheerful too 🙂 #pintorials
Thank you lovely! x
I LOVE THIS! I’ve been looking for a new summer wreath and this is perfect. I’ll be pinning this for sure. Thanks for linking up with Tuesday Talk. I’m one of the co-hosts and would love for you to join me – I’m having a giveaway this week in honor of Mother’s Day.
Sarah
http://www.sarahefrazer.com
Thank you so much Sarah – do let me know how yours turns out (and what colours you choose)!
Pingback: Hodge Podge / 10 teeny tiny, totally cool crafts
Pingback: Thoughtful Spot Weekly Blog Hop #86 - Stir The Wonder
Pingback: 9 Super Cool Flower Crafts for Kids - Buggy and Buddy
Looking beautiful…..
Thanks for sharing A WREATH USING ORIGAMI FLOWERS………………..