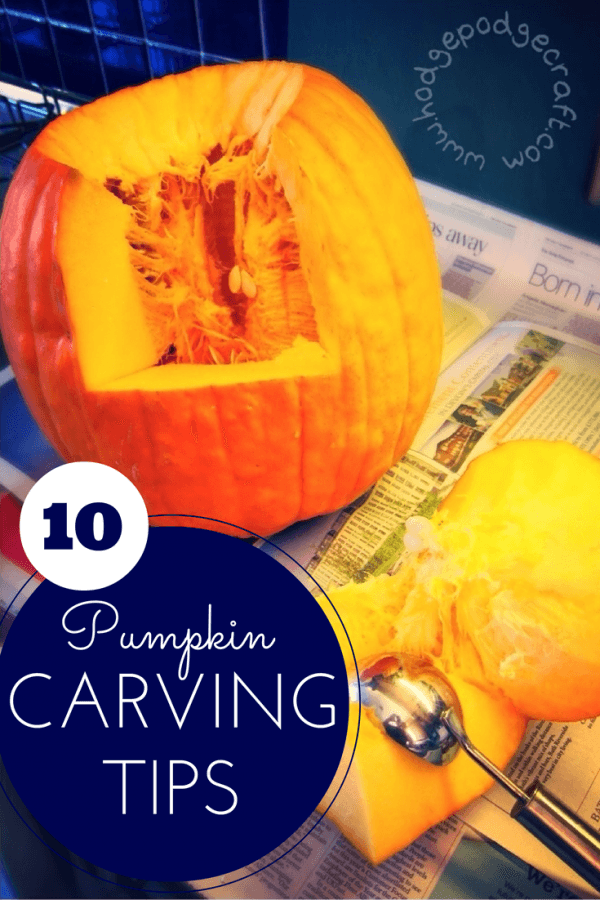
The 10 best pumpkin carving tips to make carving your pumpkin easier and your finished jack-o-lantern last longer..!
Do you want to know how to make pumpkin carving easy for yourself and help your finished pumpkin masterpiece to last longer?
Here’s how!

Top 10 pumpkin carving tips:
1. Choose your pumpkin carefully: pick a large, firm, smooth pumpkin with a nice shape. Check for any dents, soft bits or signs of rot. It needs to have a flattish bottom so that it won’t roll around.
2. Lidded, bottomless, or key-hole? Choose whether you want to cut a lid at the top of your pumpkin, or cut a hole at the bottom. My favourite (different) design is from A Little Bit of This, That & Everything, which allows more room for scraping out your pumpkin and also makes it easier to place a lit candle inside once finished – check it out!
3. Use an ice-cream scoop to scrape out the seeds and guts. Scrape a little more inside where your design will be cut.
4. Draw your design using dry-erase markers or bistro chalk pens, which will not damage the pumpkin flesh and can be removed easily later.
5. A small, serrated blade is best to cut your design with.
6. Don’t panic if you cut part of your design off by accident. You can use a toothpick to stick it back on.
7. Use cookie cutters and a mallet to punch out perfectly even shapes with minimal effort (especially useful when carving multiple pumpkins).
8. A baby wipe will remove any remaining pumpkin design quickly and easily.
9. Vaseline will stop your pumpkin from drying out, so smear plenty around all the cut edges.
10. Rub the inside of the pumpkin lid with ground cinnamon to give a lovely smell as the candle flame heats it.
If your kids are still a little young for pumpkin carving, why not try my mini-glitter pumpkins instead?

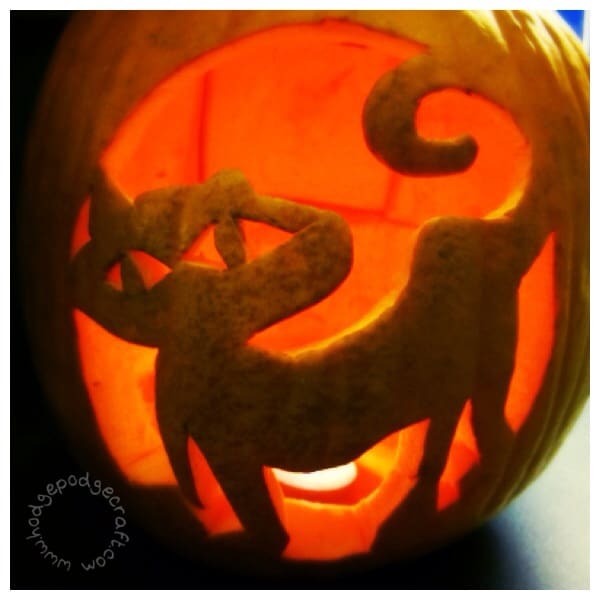
This is how my final pumpkin turned out..!


That pumpkin looks great! Must give pumpkin carving a go sometime.
Thanks Tarana – it always takes far longer than I think it will, but it’s really satisfying! 😉
Pingback: How to make easy no carve mini glitter pumpkins
Pingback: Fabulous halloween crafts for kids of all ages!
Great tips! I love the rubbing cinnamon inside the pumpkin one – it smells lush! Thanks for sharing on #CraftyOctober xx